Getting Started
What is Veska Console?
Veska Console is a persistent software mixer between your audio interface and your DAW. It connects to your hardware (via ASIO) and exposes a virtual ASIO driver that your DAW connects to. In between it runs a flexible mixer: build multiple mixers, route hardware inputs and DAW outputs through channels, and send the result back to your hardware at low latency.
Because the Console runs independently of the DAW, your routing, levels, and inserts stay put across DAW sessions: like a large-format console that remains patched while projects come and go.
How it fits together:
- Hardware side: the Console owns the real audio device.
- DAW side: your DAW sees "Veska" as an ASIO device and exchanges audio with the Console over a low-latency link the status bar reports as DAW.
- Inside the Console: mixers, channels, routing, and the main bus that persist across sessions.
Before you begin
You'll need:
- Windows 10 or 11 (64-bit).
- A working ASIO audio interface (or ASIO4ALL for consumer hardware).
- The Veska Console installed and the virtual driver registered: see Installation.
Your first run
-
Launch Veska Console. On first start it opens in mixer view with a default mixer.
-
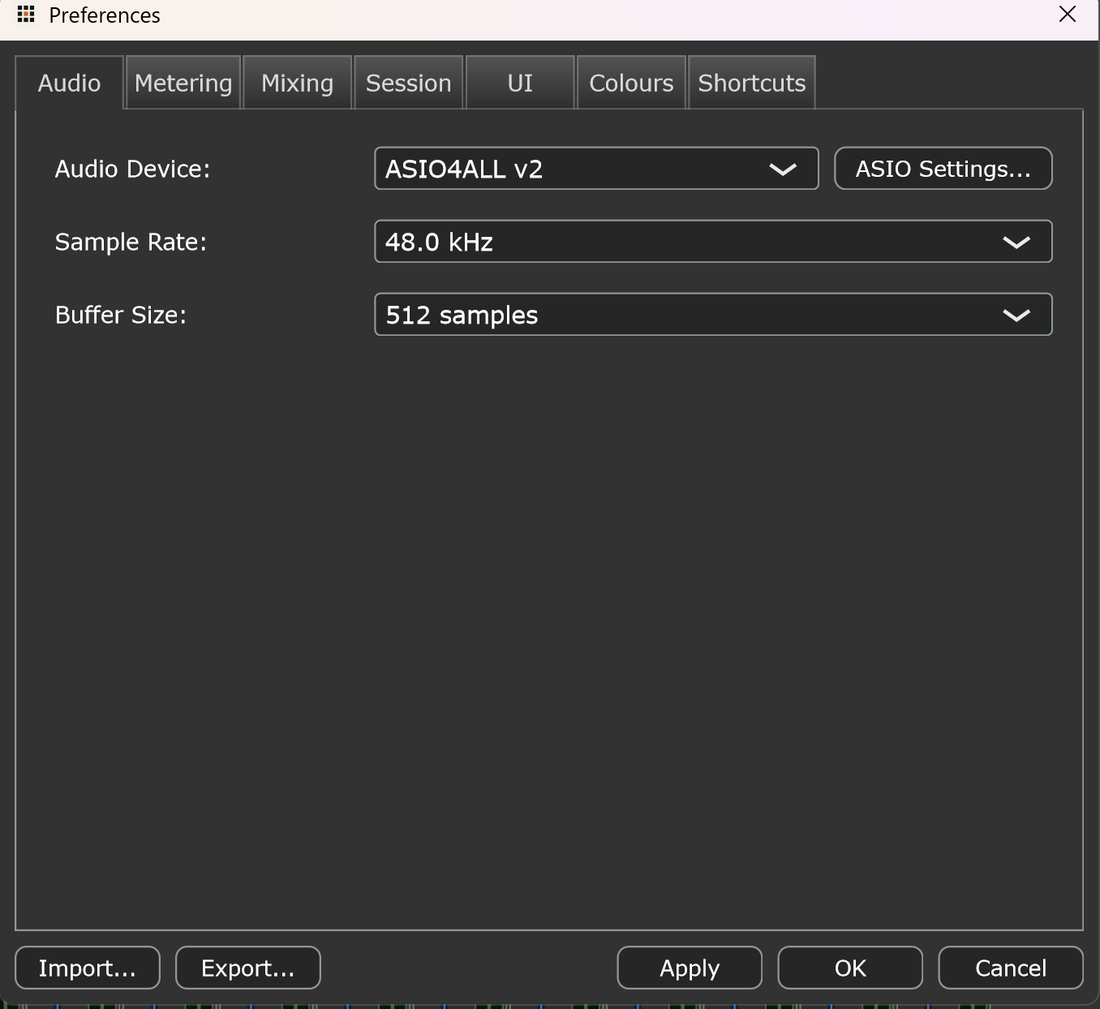
Choose your hardware device. Open Preferences > Audio and select your ASIO device and buffer size.
-
Confirm the device is running. The status bar (bottom of the window) shows a green status light, the device name, sample rate, and buffer size.

-
Add a channel and make sound. Add a channel (Mixer > New Channel), pick an input from its input selector, and watch the meter respond. Bring the fader up to pass it to the main bus.
-
Connect your DAW. With Veska Console still running and a device open (green status light), select Veska Console as the ASIO device in your DAW. The driver only loads while the engine is running. See DAW Integration.
Where to next
- New to the layout? Read the Interface Overview.
- Want to mix straight away? Jump to Mixing Basics.
- Setting up routing between mixers and your DAW? See Routing.