Installation
Requirements
- Windows 10 or 11, 64-bit.
- An ASIO audio interface. For consumer/onboard hardware, install ASIO4ALL first.
- Administrator rights for installation (the virtual driver is registered system-wide).
Install with the installer (recommended)
- Run
Veska_Console_<version>.msi. - Accept the licence and choose an install location (default:
C:\Program Files\lon.dev\Veska). - Approve the User Account Control prompt: the installer registers the virtual ASIO driver, which requires elevation.
The installer places three files in the install folder and registers the driver automatically:
| File | Purpose |
|---|---|
Veska Console.exe | The Console application |
Veska_Driver.dll | The virtual ASIO driver (registered for you) |
Veska_PluginScanner.exe | Audio plugin scanner helper |
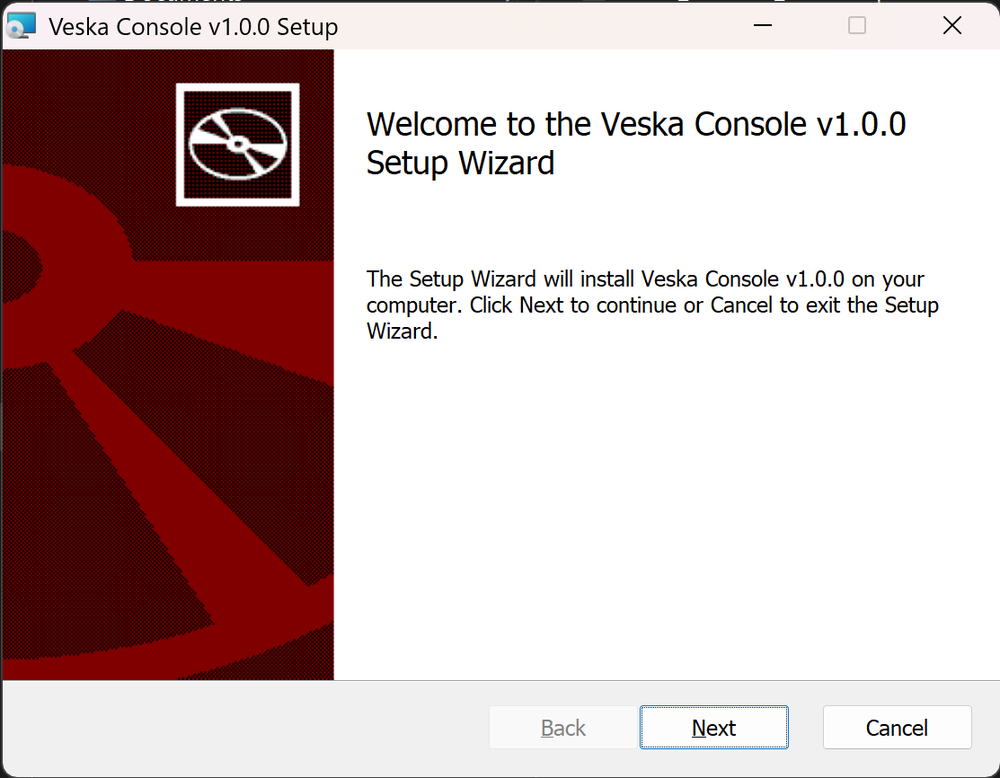
When it finishes, launch Veska Console from the Start menu.
Updating
Run a newer .msi to upgrade in place. To return to an older version, uninstall
the current one first, then install the older .msi.
Uninstalling
Uninstall Veska Console from Settings > Apps (or Programs and Features). The uninstaller unregisters the driver automatically.
Verifying the driver registered
After install, open your DAW's ASIO device list, you should see "Veska Console". If it's missing, see Troubleshooting > The driver doesn't appear in my DAW.
Hardware setup
- Connect your audio interface and install its manufacturer ASIO driver.
- Launch Veska Console and open Preferences > Audio.
- Select the interface as the hardware ASIO device and pick a buffer size (smaller = lower latency, larger = safer against dropouts).
See Getting Started for the first-run walkthrough.